

When we took the boat to Hinckley Yachts in Annapolis last year to have the galley remodeled I used the downtime to redo the Nav Station, install a NMEA 2000 backbone and new instruments. The backbone runs from the Nav Station, beneath the cabin sole, to the Port side cockpit locker. At the steering pedestal we mounted a C120-W multi-function display (MFD), i60 wind, P70 auto-pilot control and an i70 mini MFD. The i70 can display up to 10 pages of data including speed over ground, heading, rudder angle, water temperature, depth, AIS info, engine data and more. I thought it'd be nice to have one mounted at the Nav Station too.
With all the new gear we added (digital sonar, auto-pilot, backbone, AIS) we ran out of DC breakers so now we had to add a sub-panel. This was what really pushed the need to reconfigure the Nav Station because I wanted the sub-panel right there with the other power controls, AC and DC, and this instrument panel was the only logical spot for it. I had a blank panel already and just needed to commit myself to the project. I had about two months to do this in and figured that should be plenty of time. In the end, Hinckley took two additional months and that made life easier for me with the instrument panel.

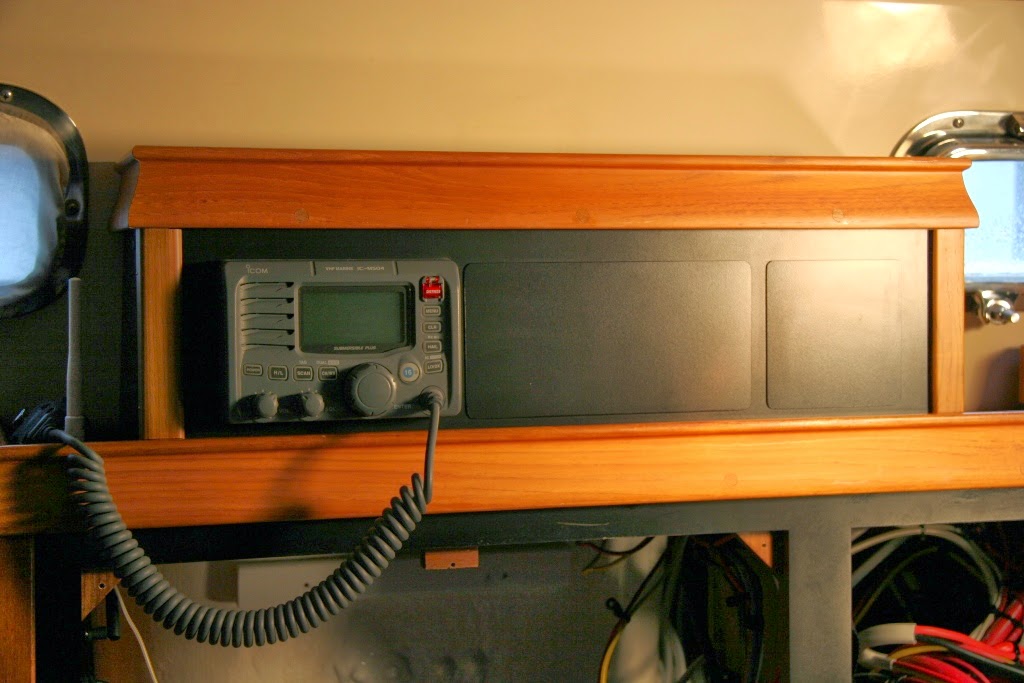 By relocating the VHF radio, eliminating the AM/FM radio, the two DC outlets and the light I had enough space to add the new sub-panel. We hadn't used the main VHF radio for about a year but I knew we'd need to get it back in operation. I had a small cabinet built on top of the Nav Station cabinet to house the VHF radio as well as our future single side-band radio (SSB) and speaker. Since we don't have the SSB yet we had the cut-out's for it put in and they're covered up with closed cell foam plugs faced with black plastic. You can hardly see them but when we get the radio we'll be able simply pop them out for an easy installation. The entire cabinet is held together with only two screws and the panels fit together like a 3 dimensional puzzle, each holding the other in place.
Update 12-2-15 - In January of 2015 we added the SSB radio. Installation was definitely made easier with the knock-out panels mentioned above.
 I made even more space by reducing the size of the wind generator panel. I completely disassembled it and cut down the plastic panel everything was mounted to. I also rewired it a bit so everything could be mounted a little tighter. I was able to reduce the panel something like an inch on each side, a little more top and bottom. After I cut it down and mocked it up in place I decided I had enough room to allow for the part of the panel with the name on it. In addition to that I moved the solar panel controller to another location.
 We're eventually adding two more panels, 140 watts each, to the two 85 watt panels we now have for a total of 450 watts. The controllers are limited to how much power they can handle and you're not supposed to mix up different sized panels on one controller so we added a second control. Both controls are now mounted behind the instrument panel on a 3/4" piece of marine plywood glued to the inside of the hull. I also added some terminal strips that are wired to two DC breakers on the main panel, "DC lights" and "DC outlets". This will give us a nice spot to tie in for adding LED lighting inside cabinets and storage areas, an upcoming project. Another thing we added behind the panel was a WLN2-net Wi-Fi connection for the NMEA 2000 backbone. This gives us a wireless connection to all the information in the system so we can display it on the mini-Mac computer or our iPods, anywhere on the boat. That's pretty slick. In addition to all that we also found room for the AIS module back there so it would be close to the VHF radio to provide GPS info for digital selective calling (DSC).
 The DC breaker sub-panel gave us eight additional breakers. With the new equipment added to the system we ended up with 2 breakers left open here and 3 more opened up on the main panel. I could have gone with a larger sub-panel, 12 breakers, but I didn't see the need. Now I have enough space on the instrument panel to expand with either more instruments or, if the need arises, I can add a larger breaker panel in the future. I put in a 50 amp breaker on the main DC panel that controls the sub-panel. This way I can kill power to it if I need to add more breakers or do repairs.
 In addition to the sub-panel we also added a second i70 display and the controls for our new genset. From the old panel came controls for the Espar diesel heater controller, the holding tank display, the control for the OGM tri/anchor LED mast light, Blue Sky solar panel display, the wind generator control and the Magnum battery charger control. In the end we put the AM/FM radio back to use and installed it on the left side panel of the Nav Station. We ran a mini plug from the "aux" input to the computer so we now have our music back. The iPod plugs into a USB port on the computer and is controlled by the radio. The final set-up is nice. It gives us room to expand if needed and also gave us additional open DC breakers which we were really hurting for. The layout of the instrument panel is more pleasing to my eye too and the addition of the i70 provides information down below that we would otherwise have had to go up to the cockpit for.